Studio layers
Move anything in the picture, and the background is already behind it.
A generated image usually arrives as one flat picture. Break it into layers and every piece of it becomes something you can pick up: the phone, the hand, the sign on the wall. Move one and what sits behind it has been rebuilt. Colour sits in the same stack, and nothing is fixed until you export.
A picture that is nearly right is the expensive kind.
The shot lands and it is almost there. The phone sits too low, the sign should be bigger, the left side is a stop too dark. Run it again and you get a different picture rather than a fixed one, and the things that were right go with it.
Layers change that moment. The image is broken into its pieces once, and from then on you move the piece you want moved. Everything else stays exactly where you liked it.
One image, twelve movable pieces.
This is the editor after a real image was broken into layers. The smartphone, the hand, the clothing rails and the city outside each have their own row, and taking one out of view leaves the wall and floor behind it whole.
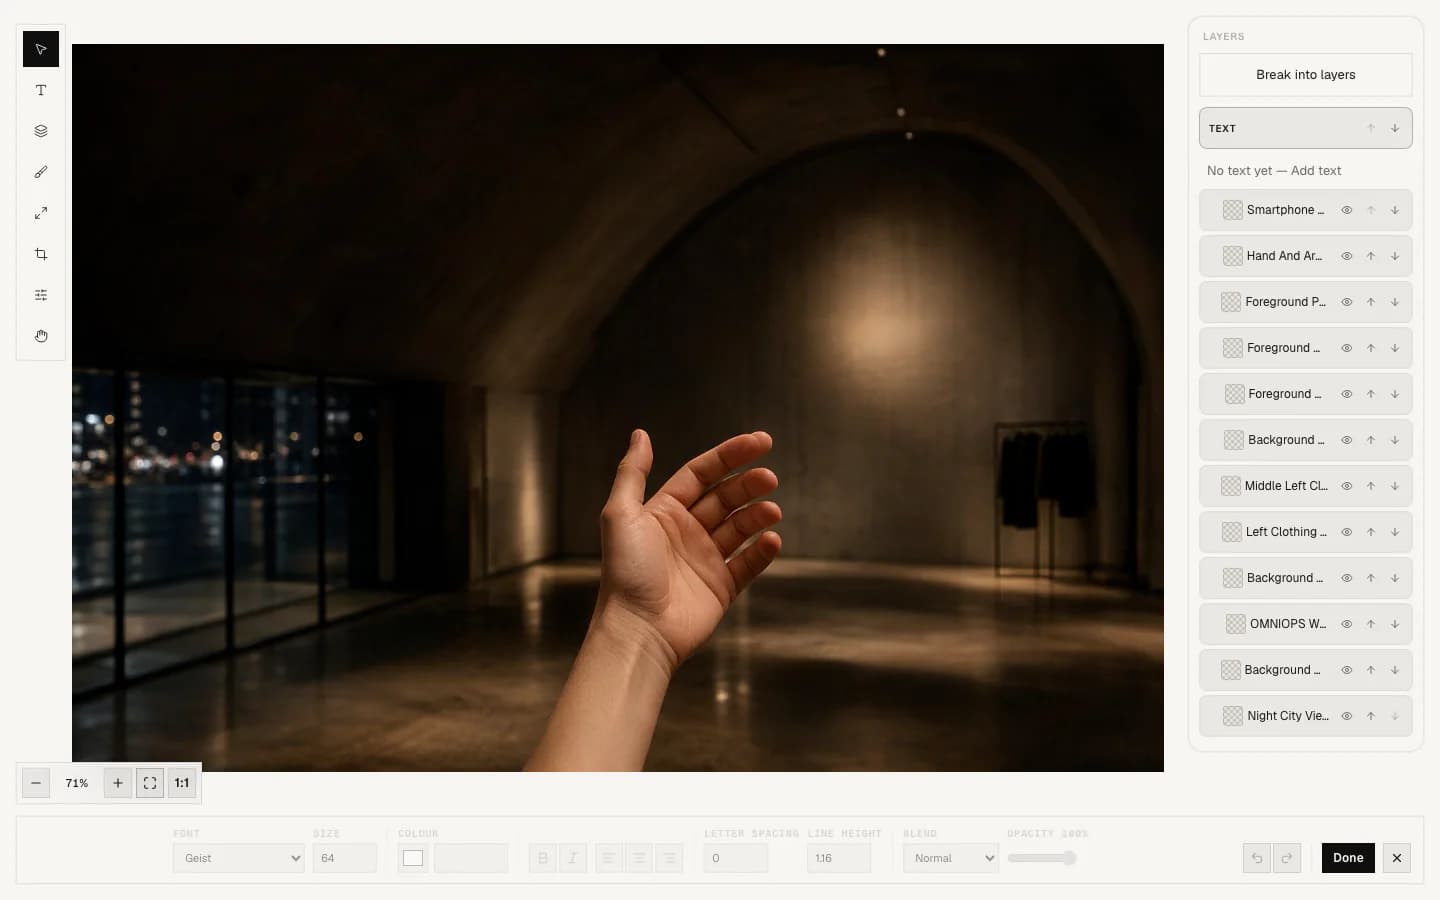
Everything in the picture, back under your hand.
Break it into layers
One press rebuilds the image as separate pieces, each with its own place in the stack. A shop interior came back as twelve pieces and a background. Seventeen is the most it will return.
Moves you can trust
Drag, scale and rotate a layer on the canvas. Arrow keys move it by exactly one pixel, so a nudge is a nudge and not a guess.
Colour as a layer
Add a colour layer and it grades the picture and every layer beneath it. Exposure, contrast, highlights, shadows, whites and blacks, all still live the next time you open it.
Hidden, not lost
Hide a layer to see what sits behind it, or move it up and down the stack to change what covers what. Removing a layer takes it out of view rather than destroying it.
One undo for the whole thing
Moved pieces, text and colour sit in one document, so undo steps back through them in the order you made them, and redo walks forward again.
Nothing fixed until you export
Press done, come back tomorrow, open the picture again and the same layers are waiting, in the same places, with the same colour on them.
The background behind a layer is rebuilt, not recovered.
This is the bit worth being straight about. When an image is broken into layers, what sits behind each piece is painted back in. It is convincing, and it is not a record of what was really there.
It tells you before it runs
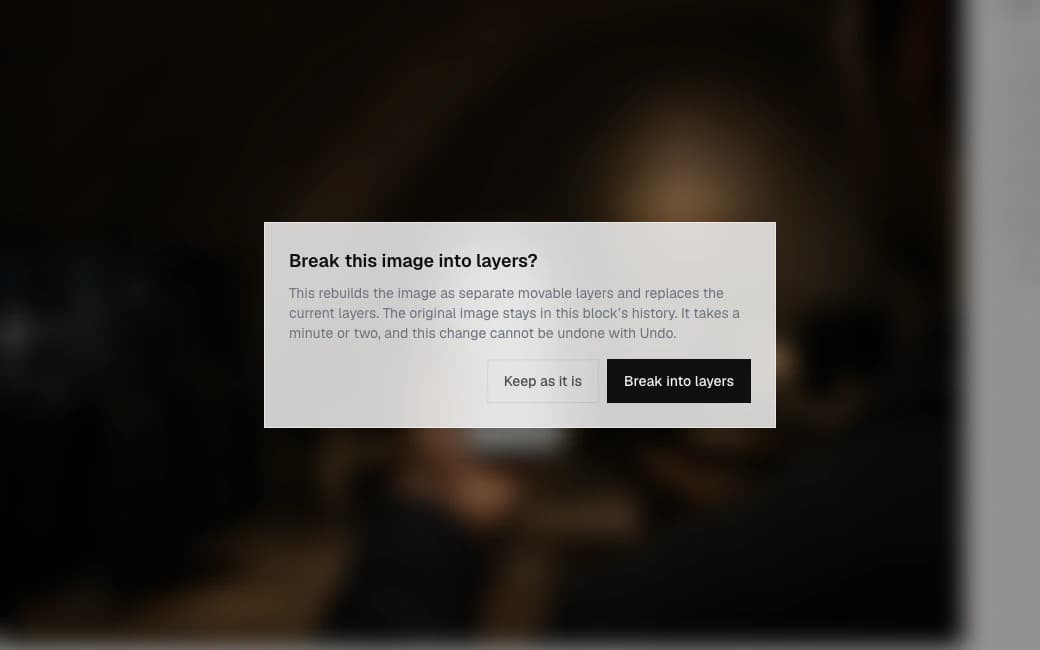
The confirm says what the break does, that it takes a minute or two, and that undo will not take it back.
The original is kept
The picture you started with stays in that block's history on the canvas, so you can always go back to it.
Good enough to use, not to prove
Use it to make a better picture. Do not treat it as evidence of what was really behind something in the original shot.
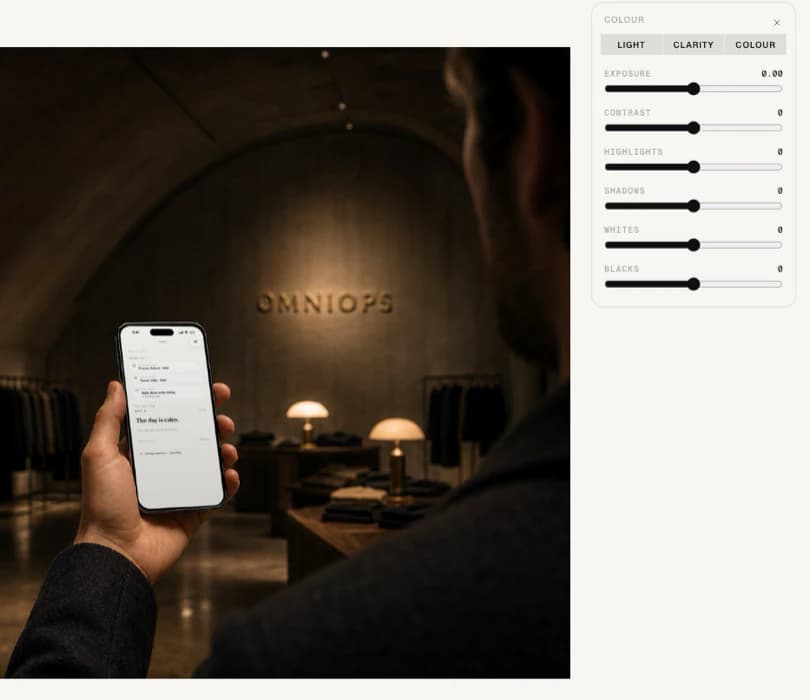
Colour that sits in the stack, not baked into the picture.
A colour layer is an entry in the same list as everything else. It grades the picture and the layers below it, and you can hide it, move it or change your mind about it later.
Six controls, live
Exposure, contrast, highlights, shadows, whites and blacks. Raise the exposure and the picture on the canvas brightens as you drag.
Changing your mind is free
Undo and redo step through colour the same as anything else, and opening the picture again brings the same values back.
Text stays as you typed it
In this version a colour layer grades the picture and the layers beneath it. Text is left alone.
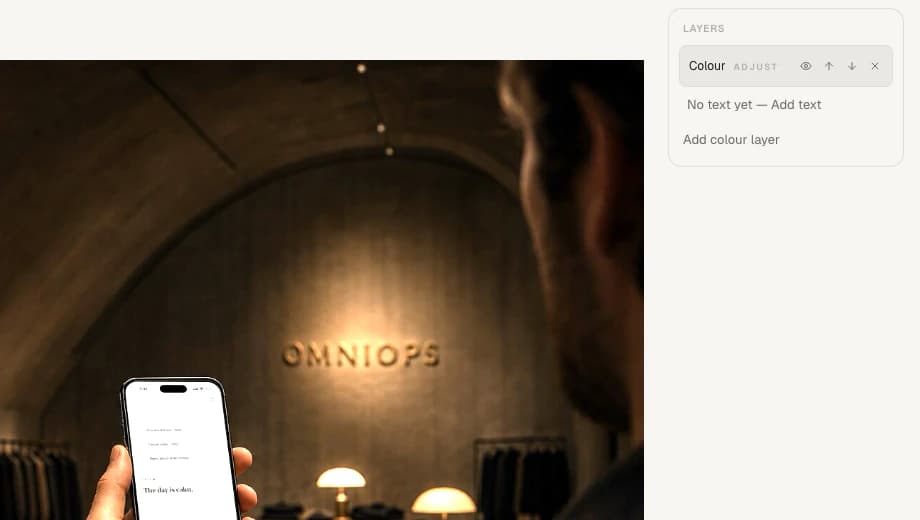
Text, colour and the pieces of the picture, in one list.
Text, cut-out pieces and colour used to be three separate things that never quite agreed with each other. Now there is one list, in one order, and everything you do lands in it.
One list, top to bottom
Colour layers, text and the pieces of the picture sit in the same panel. Moving something up or down changes what it covers.
Undo walks back through all of it
Move a piece, nudge it a pixel, change the colour, then step back through those changes in the order you made them.
Save and come back
Press done and the picture saves as a new version. Open it again and the same stack is waiting, positions and colour as you left them.
Four steps, and one of them is waiting.
Make the image
Start in the Studio the way you always do. Type @, pick the product, describe the shot.
Open it in the editor
Click into the image on the canvas and the editor opens, with the tools down the left and the layers on the right.
Break it into layers
One press. It takes a minute or two, and it says so before it starts.
Move it, colour it, done
Pick up the piece that was wrong, add a colour layer if the light needs it, and press done. It saves as a new version of the picture.
Before you try it.
Is the background behind a moved piece real?
No. It is rebuilt when the image is broken into layers. It is convincing enough to use in your own work, but it is not recovered from the original photograph and should not be treated as a record of what was there.
How many layers do I get?
It depends on the image. A shop interior came back as twelve movable pieces plus the rebuilt background. Seventeen pieces is the most it will return.
Does breaking an image into layers cost extra?
No. There is no charge per use. There is a monthly limit per shop so nothing can quietly run up a bill in the background.
Can I undo a break into layers?
Not with undo. The image you started with stays in that block's history on the canvas, so going back to it is one click, just not that one.
Do colour layers change my text?
Not in this version. A colour layer grades the picture and the layers beneath it, and text stays exactly as you typed it.
How do I pick a layer?
Click it on the picture. Clicking lands on the piece itself rather than the empty space around it, so a large layer does not swallow clicks meant for what is underneath. The panel handles hiding, ordering and removing.
What about very large images?
Layers are proven on the sizes the Studio makes for most work. If the rebuilt background cannot match the original size exactly, the run stops and tells you, rather than quietly handing back something smaller.
Founding places
Stop remaking the whole picture to fix one corner of it.
We set Omni up on your own site, free. Make an image in the Studio, break it into layers, and move the one thing that was wrong.